How Much Does Architectural Photography Cost?
For some, professional photography can be an expensive investment for your business. For context, let’s take a step back and break down the actual costs of an architectural photographer. After this, I will show you how to significantly reduce this cost.
PHOTOGRAPHY EQUIPMENT
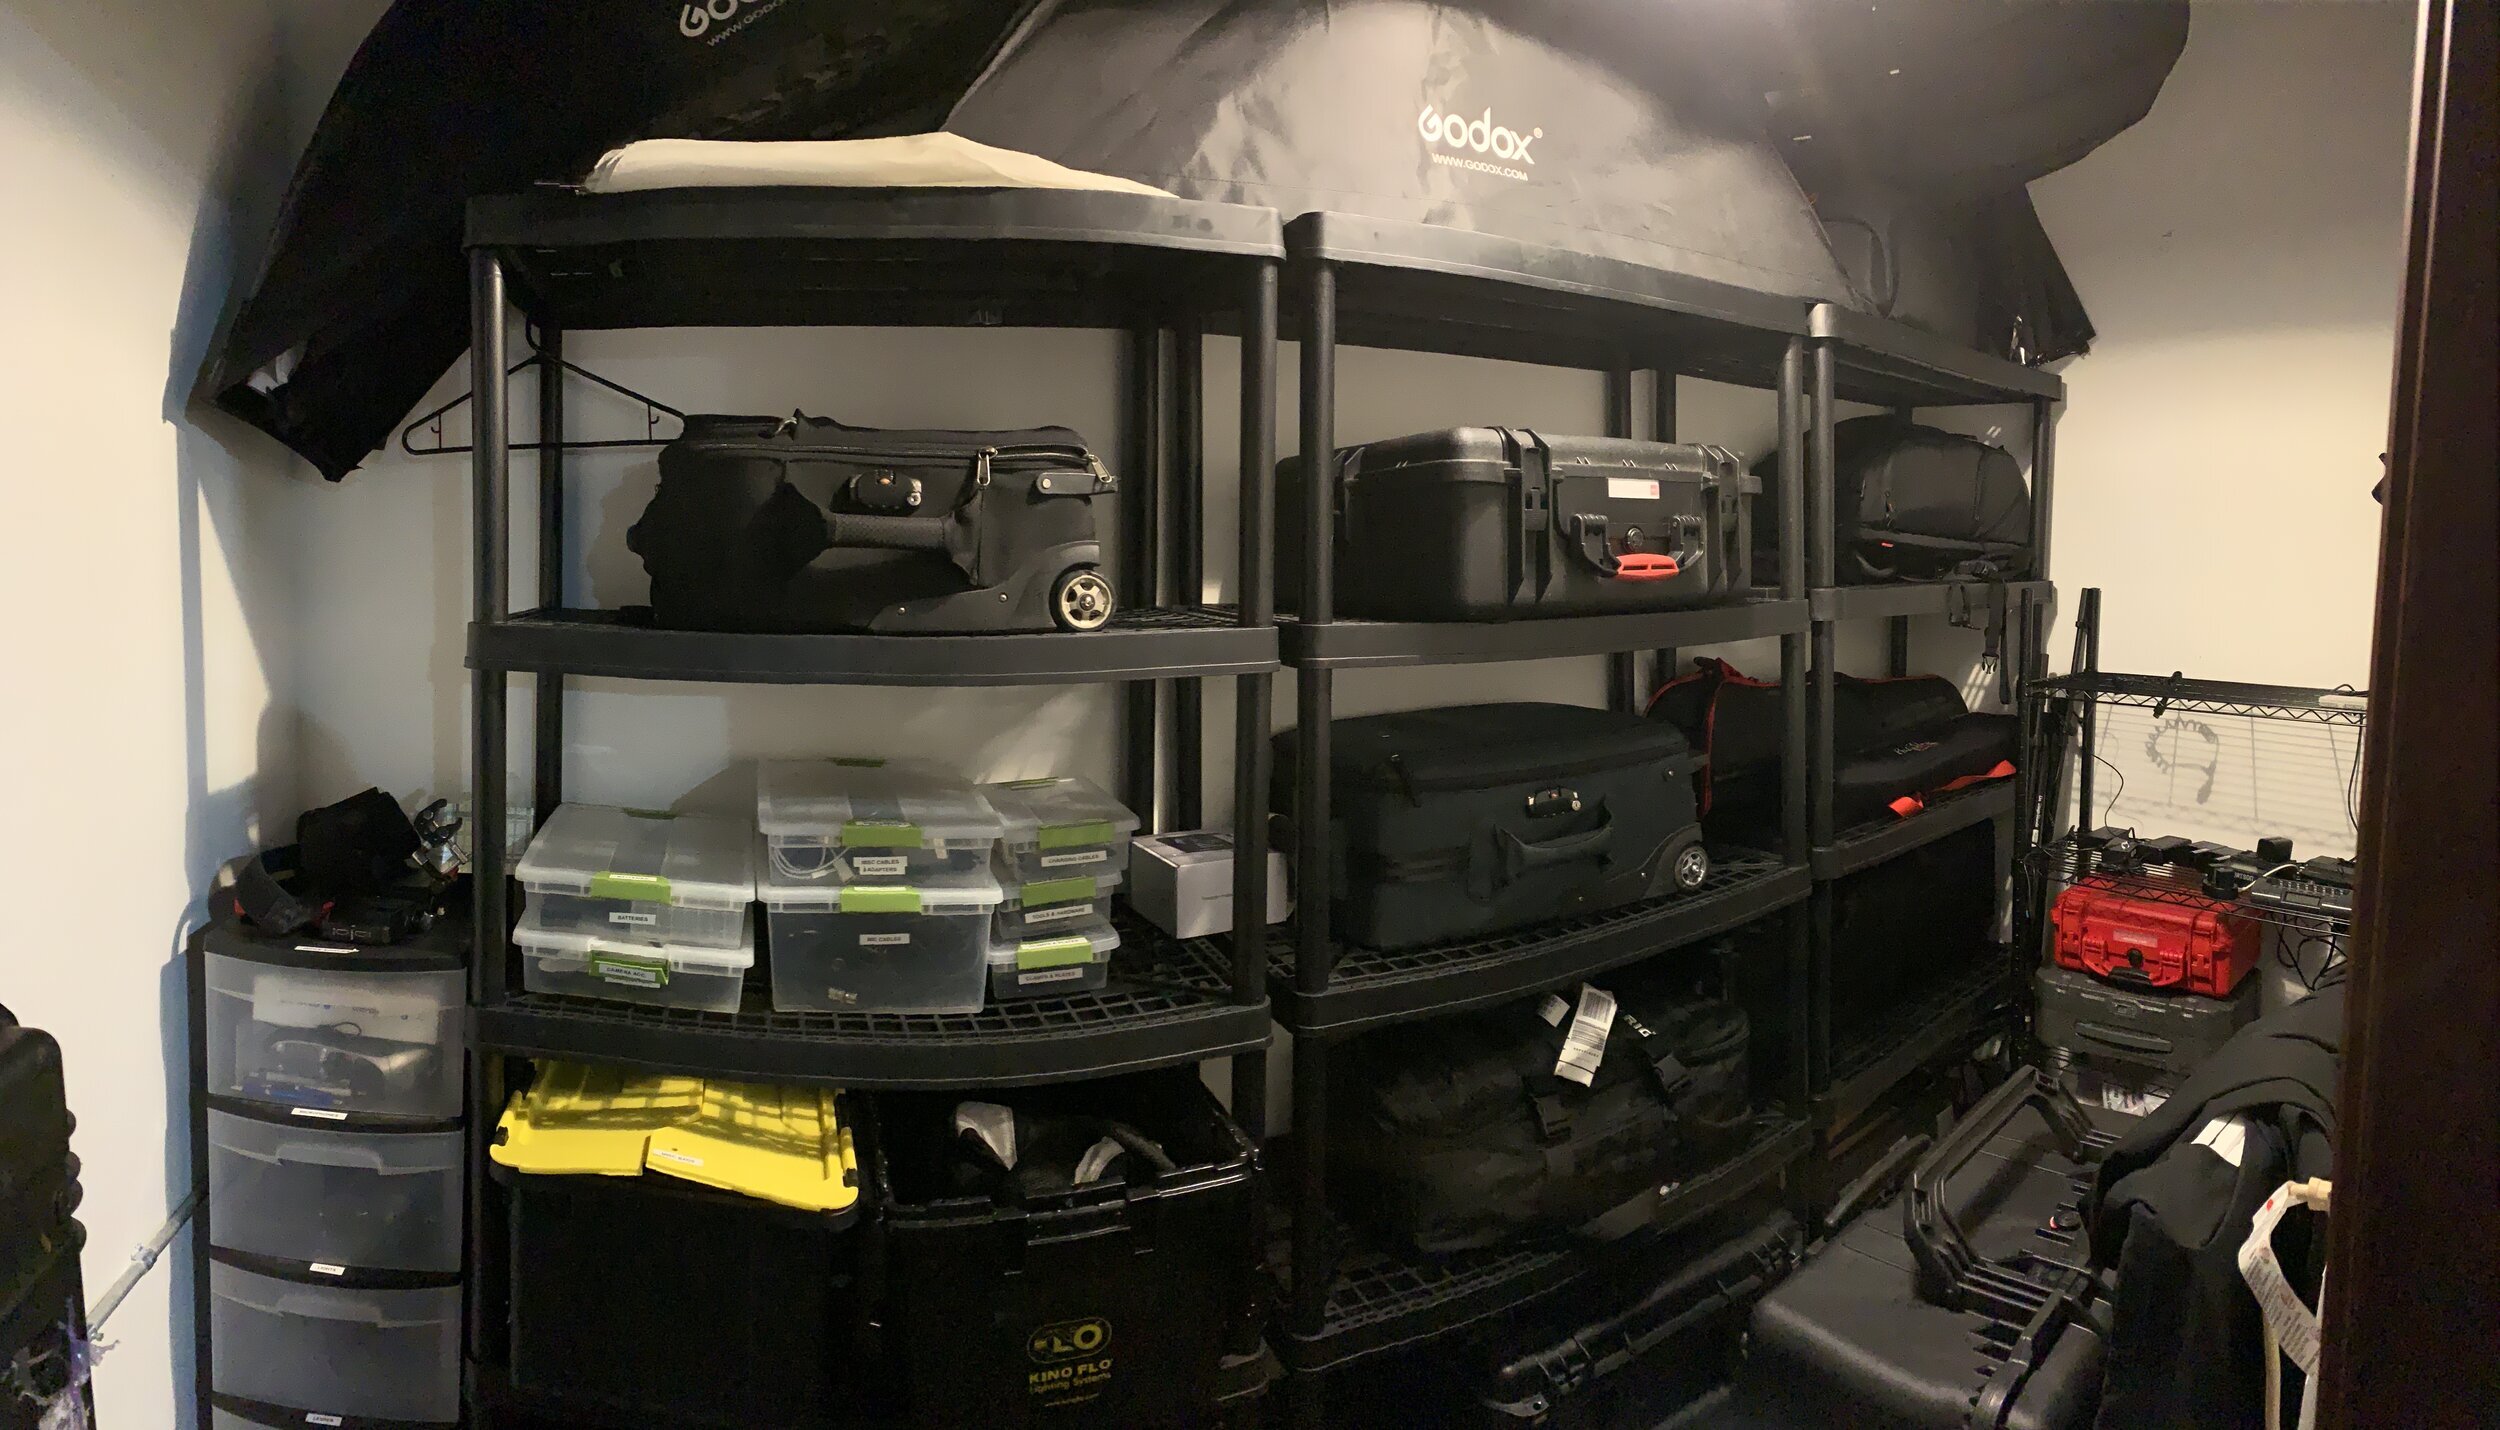
Chances are, the photographer you hire did not just run to Best Buy and pick up a camera kit for $600 and start shooting. The average professional-grade camera that shoots at least 25 megapixels is going to cost around $2000 and a respectable lens for this type of work will also run you about $1500 minimum… and that’s if you buy used. So far we are at about $3500 on the low-end. This is assuming that your photographer is using just one camera body and one lens, of course. You’ll probably want to triple or quadruple that dollar amount considering any professional typically carries multiple bodies and lenses and lights and a plethora of other accessories in order to shoot your project. There is also the computer. Even if I went and bought Apple’s lowest priced computer, a 13’ MacBook Air, it would still cost me over $1000. In reality, we are likely going to need, at minimum, a 15’ MacBook Pro which starts at $2800.
You might say, “That’s the cost of doing business!”. Of course it is. I don’t outline the cost of equipment to say that photographers should be compensated for gear – only to illustrate that your photographer invested HEAVILY into making sure they have at least a decent setup in order to deliver the images you see.
My gear closet which houses all of my equipment.
EXPERIENCE
Of course, we don’t want to make the assumption that just because someone has good equipment that makes them a good, or even professional, photographer. You could give an amateur architect a top-of-the-line drafting setup, it doesn’t mean they are going to do it right. Experience matters more than the gear.
I recently photographed a project for an architect, designer, and builder who I had been wanting to work with for a long time. They all do amazing work, and shooting one of their projects would simply be a blast! It was my first time working with them, so I wanted to make a good impression. When I arrived to the home, it was immaculate. So much attention to detail. So much dark wood and huge walls lined with windows… which is beautiful to the eyes, but quite intimidating for a camera… especially on a bright day with a lake reflecting light back into the home. I say this because for a first project, this was a real challenge – but one that I was ready to dive into… and had all of the equipment and tricks up my sleeves due to my experience to make it happen!
I ended up spending about 9 hours straight photographing this home without a break. I had to time each shot with what the sun was doing which involved moving around the home to different areas depending on what the sun was doing. It meant getting multiple exposures, using artificial light to manipulate things, and using fabric to block light. In the end I ended up with around 60 images (which is not normal, by the way…). The ONLY way I was able to pull this off wasn’t because I had good camera equipment, it was because I know how to manipulate light to do what I want it to do.
POST PROCESSING
Believe it or not, it is very rare that when the shutter button on the camera is pressed that an image is finished. In fact, it is never, ever the case. Once the photo shoot is finished, every image will go through a meticulous editing process when could range anywhere from 5 minutes per image to several hours per image. It typically is not one pass either. Often times, I will go through and do a rough draft on an entire set of images to see what I have to work with. From there I will pick all of my final images that I want to work with and put each of them through an extensive editing process. Often times when people imagine editing, they imagine pushing some buttons and twisting some knobs to get it to look a certain way, but when it comes to interiors and architecture photography you would be incredibly surprised to see what all goes into one single image.
When you are working with multiple images, you might see how the time can really add up. Take the challenging project that I just referenced earlier where I ended up with nearly 60 images. How long do you suppose this project took to edit? If you guessed 18 hours, you are right! Yes… 18 hours. Of course, this wasn’t all in one sitting but over the course of about 2 weeks and several editing sessions. Now, this project was special and as mentioned several times now, it was challenging. Nearly every image required multiple composited images to put together just in order to get it to look how it does in person.
One thing I do for most of my projects is that I screen record the entire editing process. I started doing this awhile back to either use as educational content for fellow photographers, and to simply share with my clients because it is always very interesting to see how the images of their work was made. Here is the entire 18+ hour edit sped up. I made it so that each image is about 5 seconds when in reality most of these ranged anywhere from 15 minutes to close to 2 full hours.
TRAVEL
I don’t think that I need to spend a lot of time here. Another important factor that must be taken into consideration is travel costs and the time spent away from the photographers home. In my case, the majority of my clients live at least an hour away from me, and I also travel out of state for some clients. Now, we aren’t talking about a daily commute. We are talking about blocking everything off and pausing life in order to properly make the most compelling imagery we possibly can for your project. I am typically not charging for travel unless I am spending more than 4 hours in a car or if I am traveling out of state. If I will be in the car for more than 4 hours (2 hours each way), I am likely going to be getting a hotel. Not because I have insane demands, but because 4 hours of driving in addition to a full shoot day is simply not safe.
ASSISTANT
Fortunately, I haven’t had the conversation yet as I rarely bring an assistant with me, but a lot of photographers require and (if I am being completely honest) should have an experienced assistant. Not someone who just moves furniture around and carries bags, but someone who understands the type of work that is being done, who understands the equipment being used and especially the photographers workflow. Having a professional assistant (not just a random person with two hands) is more important than the equipment being used. It will not be long before I will bring a personal assistant for every shoot no matter how small because it is invaluable.
IMAGE LICENSING
“So wait – I am paying for all of this and still need to pay for the photos on TOP of that!?”. You got it! This is a simple, yet complicated subject that I will try to explain in just a few sentences even though it probably deserves its own post. When you hire a photographer, you are paying for everything mentioned above AND the rights to use the images (licensing). The rights will vary based on the photographer, the client, the project, distribution, etc. but more or less you can count on being able to use the photos for your website, social media, and likely some print at the very least. Typically the larger scale the project (usage of the photos, distribution, value of the project, etc.) will affect the cost. For example, if I shoot one image of a nicely designed living room for an interior designer who is just starting out for their Instagram and another image of a lobby for a national Architectural firm for a national campaign that is going to generate millions in revenue, which image is more valuable?
Come back next week where I will discuss how I charge for design and architecture photography, as well as how YOU can save a LOT of money on your photo shoots.


